If you haven’t already done so, please download and register the Ruijie Cloud App. This can be done using the QR code on the box or from the Google Play Store (Android) / App Store (Apple). Once Complete an email will be sent to you, Click ‘Activate’, which will open the Ruijie web based Portal, close this page, and open the Ruijie Cloud App. Follow the instructions below.
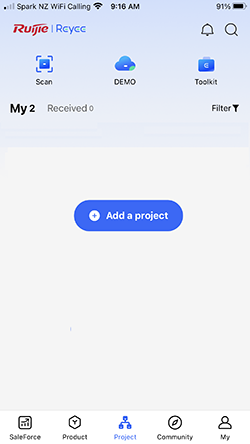
1. Download and open the Ruijie Cloud APP (first time users will need to confirm their account by email). Select ‘Add a project’
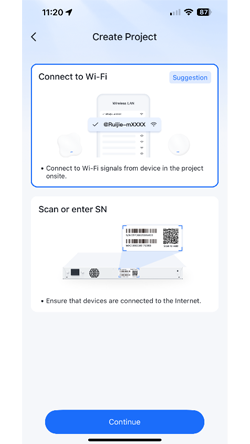
2. Select ‘Connect to Wi-Fi’
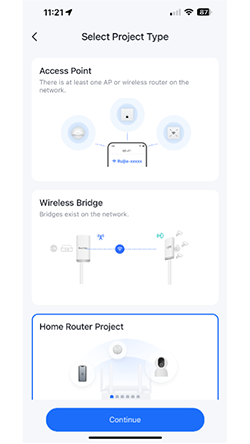
3. Select the ‘Project Type’ that best reflects your equipment list. Only choose ‘Wireless Bridge’ if it’s on its own.
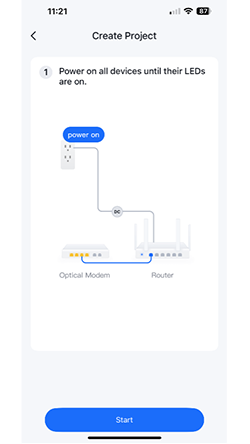
4. Make sure all devices are turned on and the LED’s have settled to a slow blink
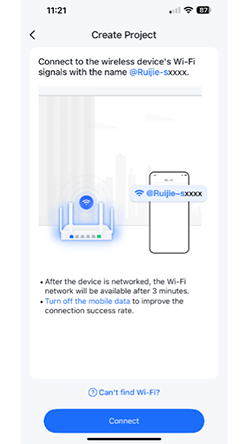
5. Select ‘Connect’ to take you to your devices’ settings…turn off ‘Mobile Data’ to improve the process
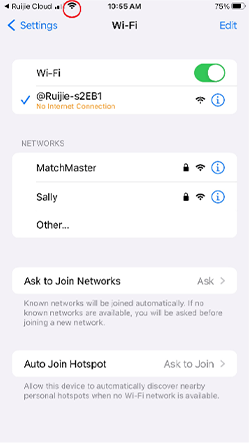
6. Select the Wi-Fi network starting with ‘@Ruijie-mxxxx’ and wait for the WiFi symbol to appear, then return to the APP (Shortcut top left).
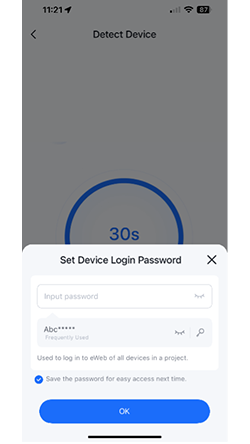
7. Create the project password.
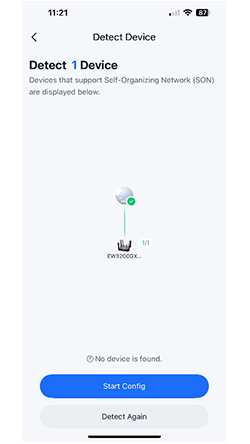
8. If the Topology is correct ‘Start Config’, or select ‘Detect Again’ until its correct
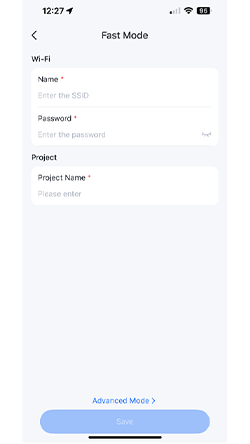
9. Create the WiFi ‘Name’ (SSID) and ‘Password’. Create the ‘Project Name’.
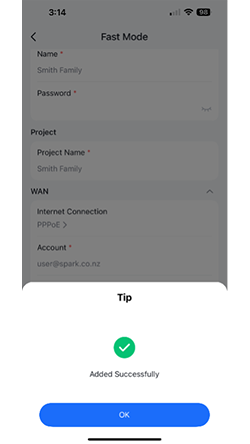
10. After selecting Save you should see the following message ‘Added Successfully’

11. The following screen asks if you want to connect to the newly created WiFi network or use the arrow top left to return to the homepage to view the new project.